Node.js and Hapi
How to create simple web server with Node.js and HapiJs

Node.js and Express is a powerful combination and a popular choice, when building web applications. I have used Node.js and ExpressJs, when working on MEAN stack applications.
Recently, I was curious, whether there are any other frameworks available for creating web servers in JavaScript. I came across Koa and Hapi . So, I went ahead and start exploring Hapi.
HapiJs (or simply Hapi) is an framework for developing web applications. Just like any other web framework, you can build APIs, servers, enterprise level backends etc., using Hapi.
Note: This blog is not a comparison of these frameworks.
At the end of this article, you will gain knowledge on
- Creating and initializing a project,
- Installing Hapi,
- Creating a web server,
- Setting up routes and using query parameters
Note: I am using node version, v14.15.3
1. Create a project
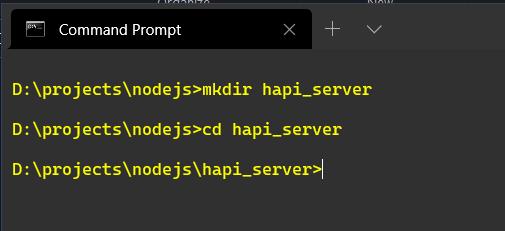
Create a folder in desired location and cd into the folder.
You can do it using a command prompt or in the usual way using the file explorer. I am using Command Prompt in Windows terminal here.
mkdir hapi_server
cd hapi_server
2. Initialize the project
Next, run the following command in your terminal. This command needs you to answer few questions, like name of project, version, description, entry points etc. When successful, it will generate package.json in your project.
npm init
If you want to skip answering above questions, run below command,
npm init -y
3. Install Hapi
For installing Hapi, run below command
npm install @hapi/hapi --save
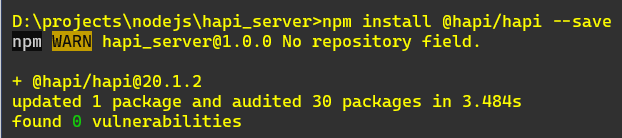
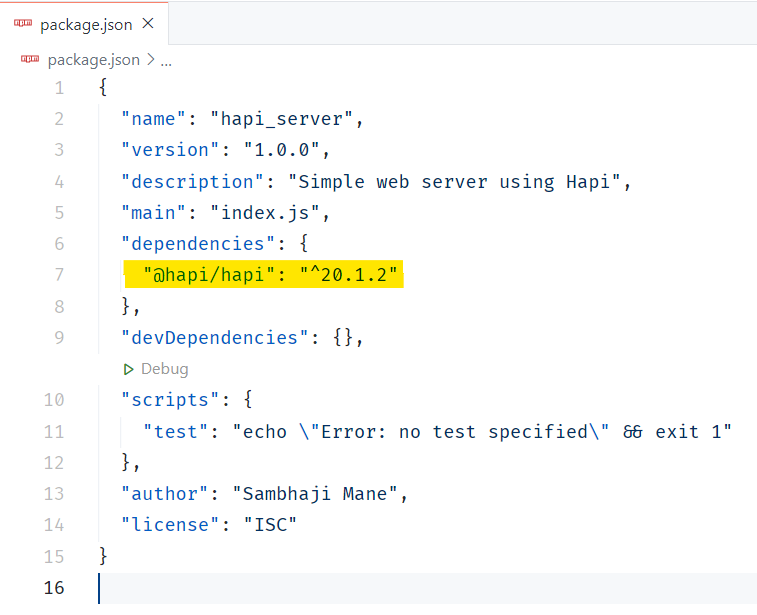
This will install the latest version of Hapi as a dependency in your project and your package.json will be shown like below,
4. Creating a server
So, now that we have created, initialized and installed dependencies. Let's create a simple web server.
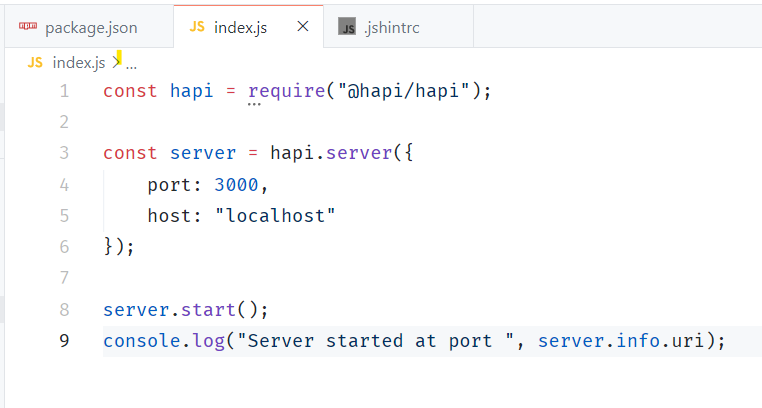
Create index.js file in project and in index.js file, add the following lines of code.
- Please import the hapi package in your project.
const Hapi = require("@hapi/hapi");
- Then initialize a new Hapi.server() with the connection details like the port number to listen to, and hostname. For this blog, we will be listening to port 3000 and use localhost.
const server = hapi.server({
    port: 3000,
    host: "localhost"
});
- Now, start the server
server.start();
At this point, our server is doing nothing. Let's add a message, notifying that the server is up and running.
console.log("Server started at port ", server.info.uri);
Our first draft of code will look something like this,
5. Starting the server
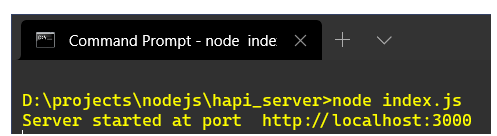
In terminal, run the following command to start the server. This will start our server and will show the message, that the server is running at localhost.
node index.js
6. Setting up routes
Now, that we have created a basic server, let's create some routes. In order to do that, lets initialize a route, server.route(), like shown below.
We need to add the following code in the index.js
server.route({
    method: "GET",
    path: "/",
    handler: () => {
        return "Hello HapiJs";
    }
});
- method: This property can be any valid HTTP methods like GET, POST, PUT, DELETE etc.
- path: This property specifies the path. It can also include parameters.
- handler: Handler is where the business logic resides. This is where you set the response and return the response. Handler must return some value.
Now, stop the server using command ctrl + c, and then rerun the command
node index.js
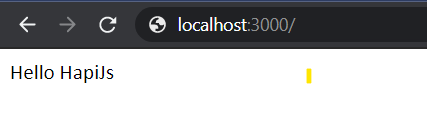
Navigate to path http://localhost:3000/ in your browser. You will see message in your browser like shown below,
7. Pass some parameters
Let's create one more route and pass some parameters.
I am creating a route named as name, and will pass firstname and surname as query params.
If you have noticed, I have now also introduced, request and response parameters in handler. I will get the firstname and surname, from request query object, and returning it.
server.route({
    method: "GET",
    path: "/name",
    handler: (request, response) => {
        return `Hello ${request.query.firstname} ${request.query.surname}`;
    }
});
When we restart the server and hit the URL, http://localhost:3000/name?firstname=John&surname=Doe, we will be shown the following output on the browser.

If you want to explore more, please do visit Hapi homepage, https://hapi.dev/
The complete code for index.js,** from above blog is given below,
const hapi = require("@hapi/hapi");

const server = hapi.server({
    port: 3000,
    host: "localhost"
});

server.route({
    method: "GET",
    path: "/",
    handler: () => {
        return "Hello HapiJs";
    }
});

server.route({
    method: "GET",
    path: "/name",
    handler: (request, response) => {
        return `Hello ${request.query.firstname} ${request.query.surname}`;
    }
});

server.start();
console.log("Server started at port ", server.info.uri);

