Exploring MongoDB for VS Code extension
Installing MongoDB community version and using MongoDB extension in VS code
Recently, I found a very useful VS code extension, MongoDB for VS Code. Sometime, when developing on MEAN stack, I frequently need to switch windows, between Compass, or MongoDB shell and VS Code.
With this extension, I never have to leave VS Code. This saves my time, and efforts doing context switching. I can do the same set of operations, which I would have done, just like any other tools or shell.
I can now connect to local or remote clusters and databases, with ability to view the schemas, and run queries in the playground with this extension.
Note: This extension is still in preview mode.
MongoDB for VS Code extension
1. Installing MongoDB for VS Code
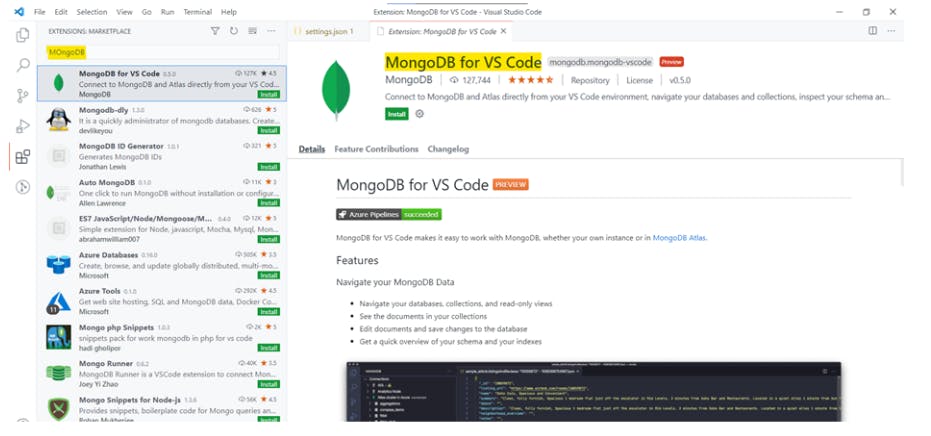
For installing this extension, navigate to extensions section in VS code.
Search for MongoDB for VS code, and click install.
2. Connecting to Databases
After installation click on the MongoDB icon on left hand side panel, this will open a view as shown below.
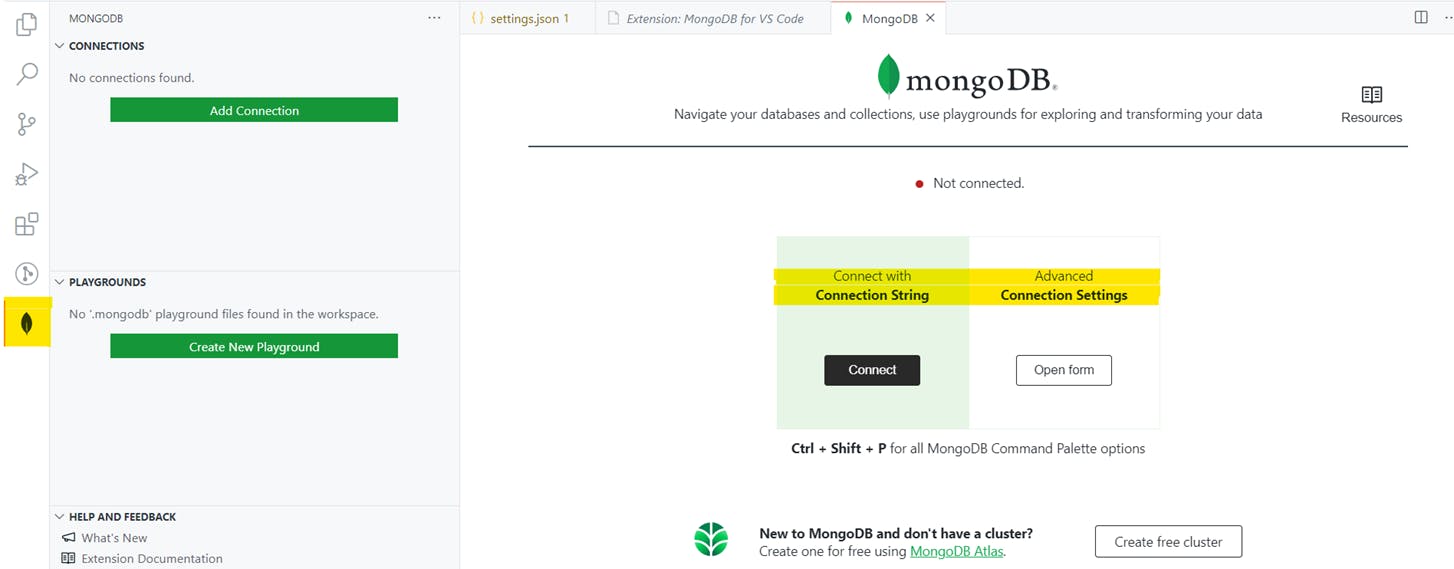
Here you can use connection string to connect to databases. You also need to mention the username and password in the connection string.
mongodb+srv://username:password@<clusterlink>/admin
I have not added any password for my local mongo instance, so the connection string will look something like this.
mongodb://127.0.0.1:27017/admin
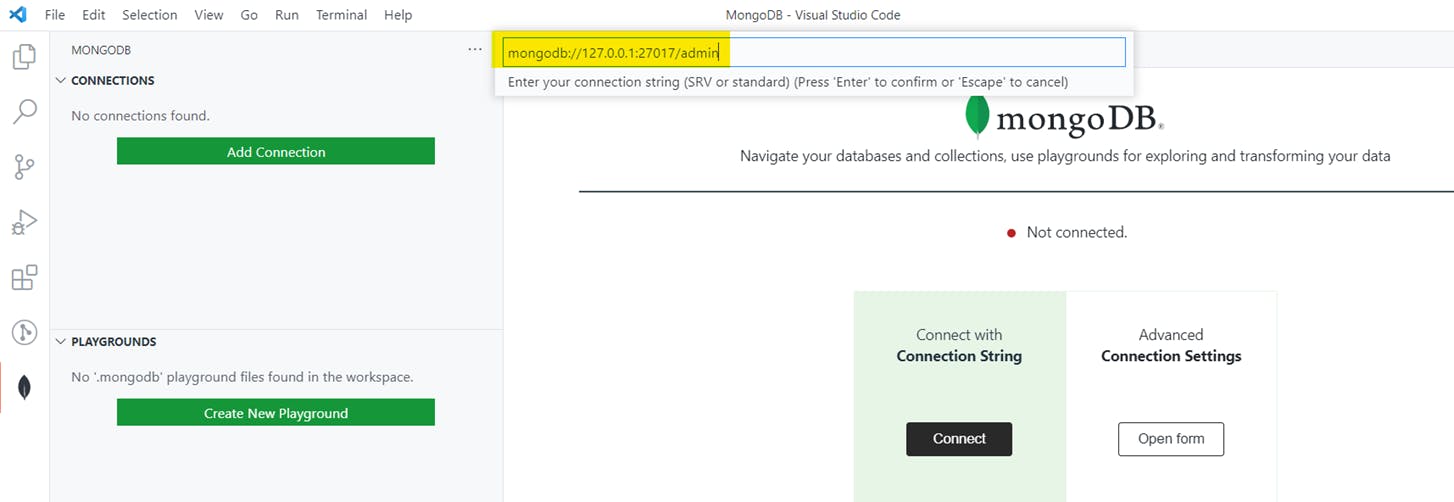
After successful connection, you will be able to see, all the databases in the left pane.

3. Connecting to Databases, using Advanced Settings
If you don’t want to use, connection string, you can also use form which is available under, Advanced Connection settings.
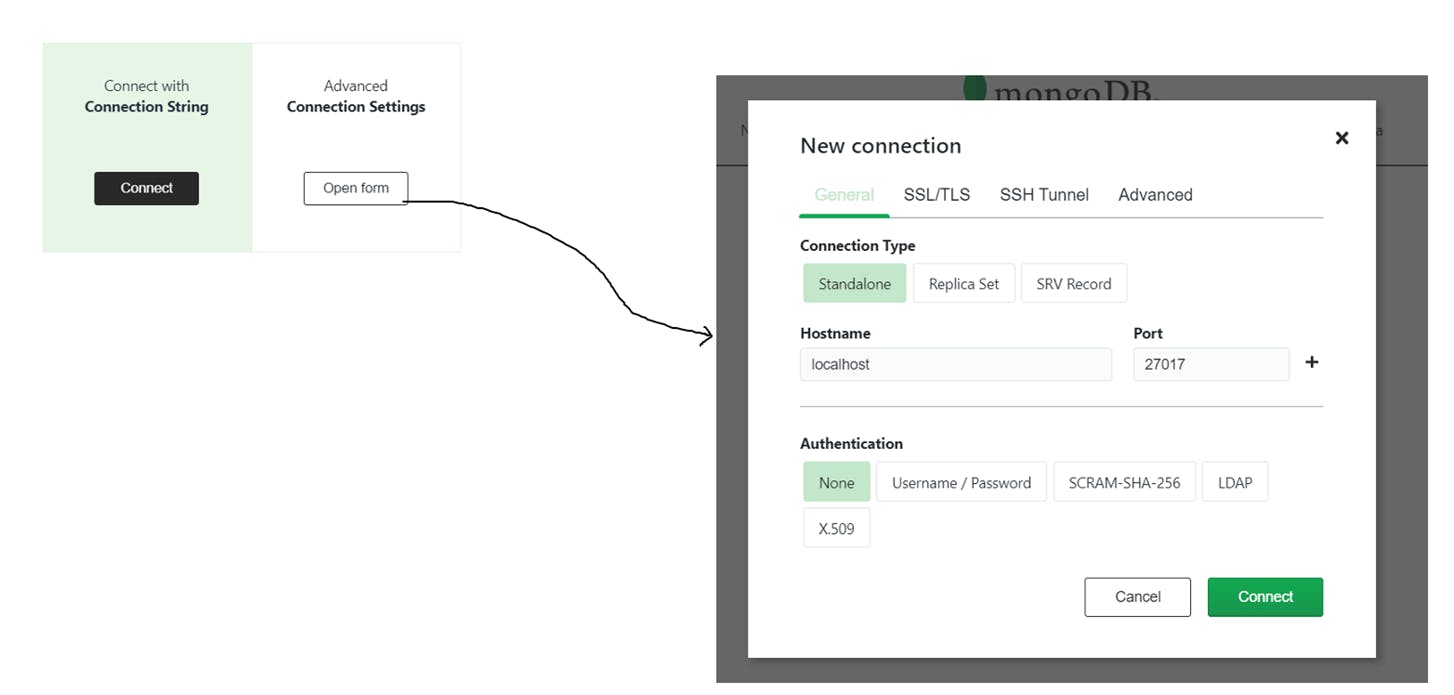
4. Using Playground
This extension offers Playground feature, which basically is a JavaScript runtime environment, allowing you to run all the MongoDB queries, or commands.
You can perform all the CRUD operations, using the playground.
Click on Create New Playground, on left pane. This will open a file with extension .mongodb in editor pane.
Remove the default code/queries in the template and add your code/queries.
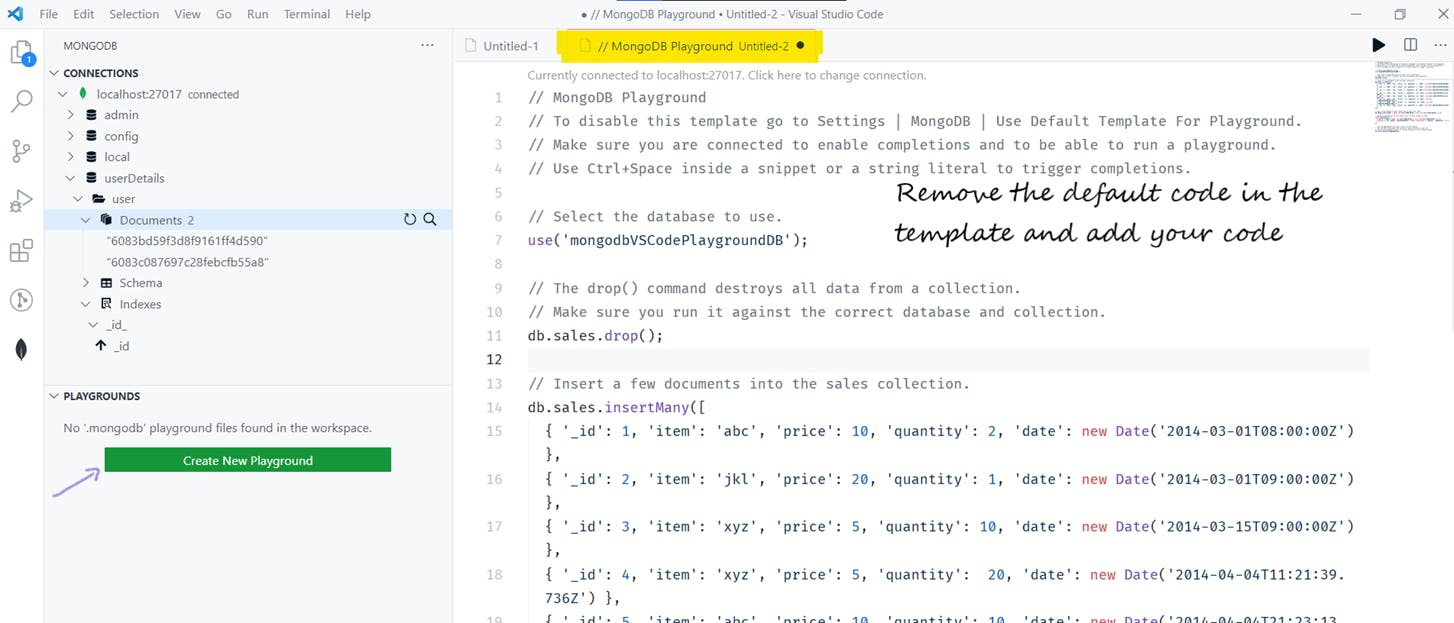
After adding your MongoDB commands, hit Run.

I am using a database, named as userDetails and inserting, and deleting documents in user collection.
insertMany()

insertOne()

find()
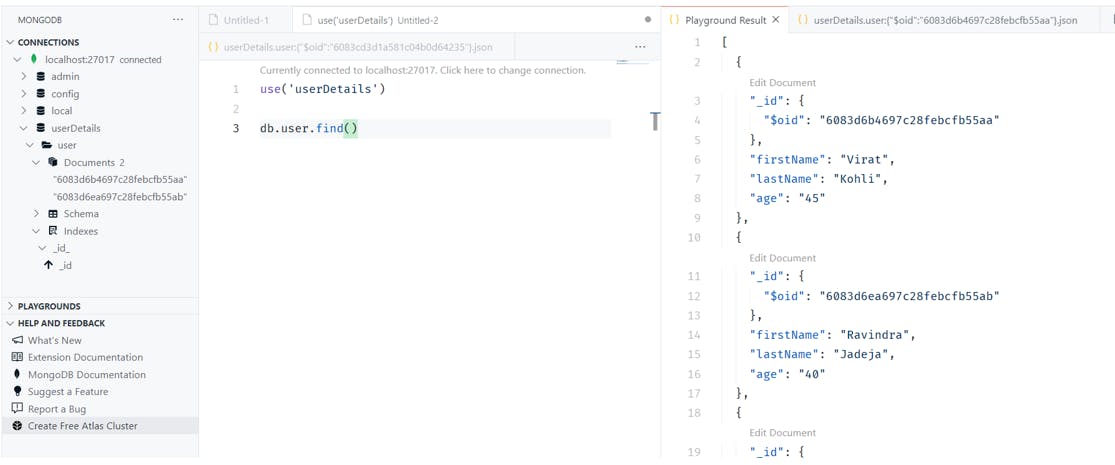
deleteOne()

If you are a developer working on MongoDB and spending time in VS code, then please do try this extension MongoDB for VS Code. Some detailed docs on this extension and Playgrounds are available here and here resp.
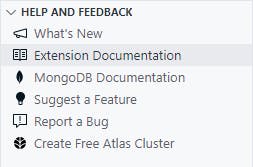
Also, great documentation links are available in Help and Feedback section in VS Code.
Installing MongoDB community server version
1. Download and installation
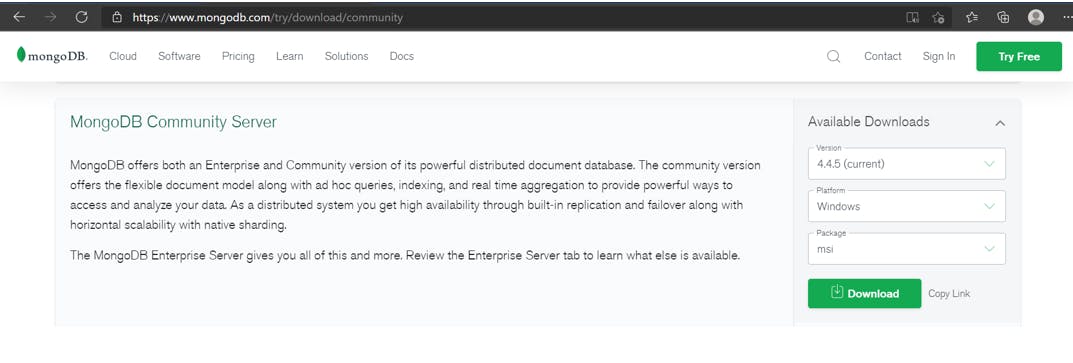
Visit this link, MongoDB Download Center to see a list of download options.
Simplest way to install MongoDB is using the .msi installer. I have download the latest version, 4.4.5 Windows .msi package installer.
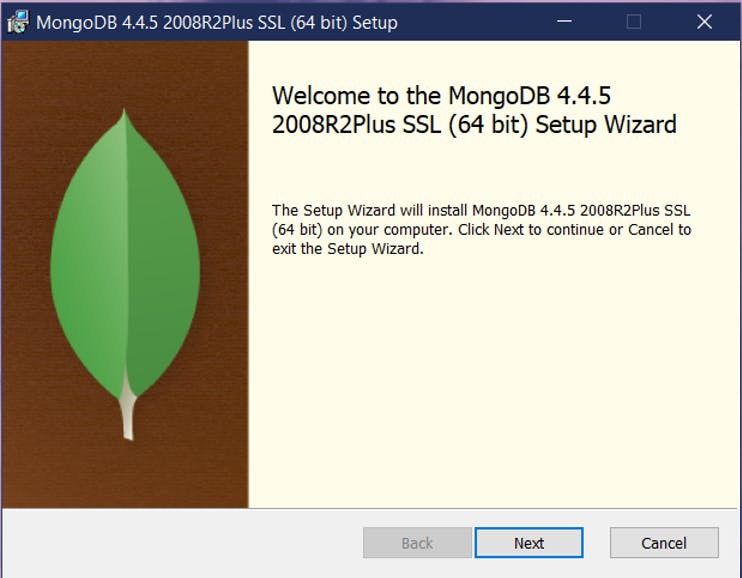
Double click the installer and follow the instructions on the wizard to install MongoDB community version, on your machine.
I have selected the default options and installing MongoD as a service, which will run service as Network service.
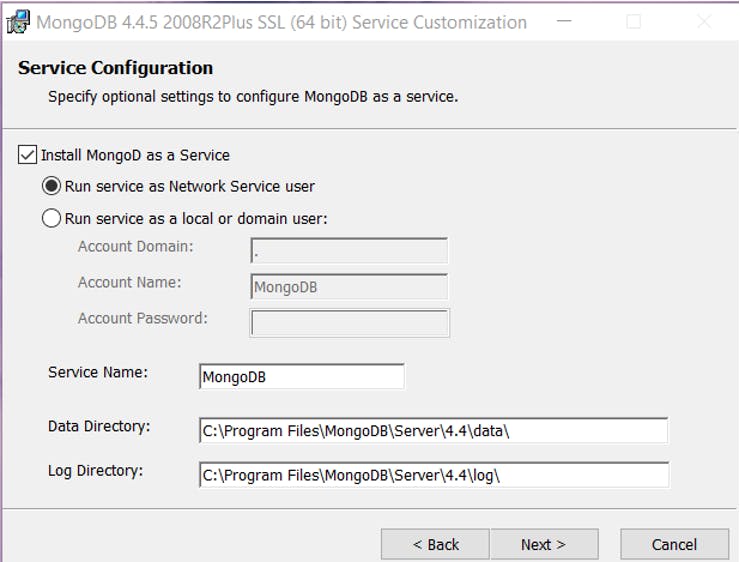
During the installation steps, You can either select to install MongoDB compass. Compass is GUI tool for working with MongoDB databases.
2. Start MongoDB server
To start the MongoDB, navigate to the installation path.
In my case, it is C:\Program Files\MongoDB\Server\4.4\bin.

You can double click on mongo to start the server.
Alternatively, open terminal and navigate till \bin. In my case, C:\Program Files\MongoDB\Server\4.4\bin
Run command mongo, and server will start as shown below.
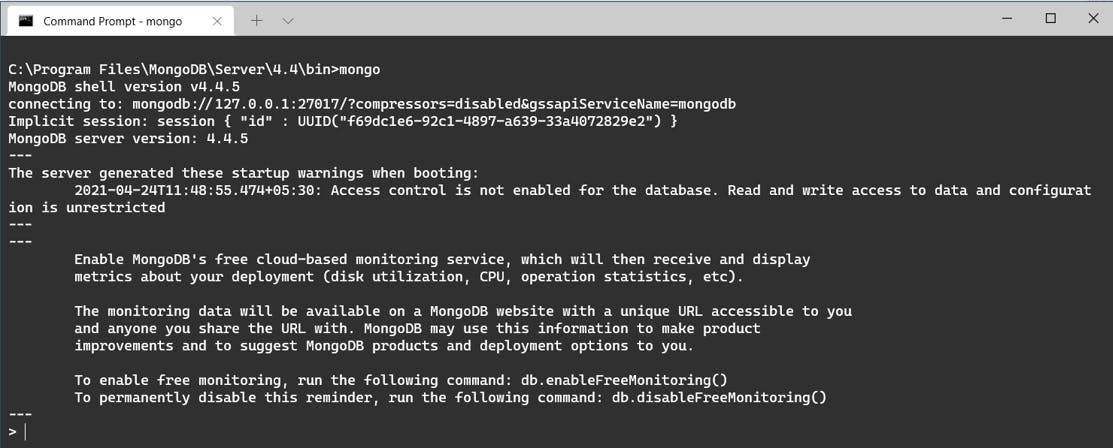
To view the list of commands, run command help
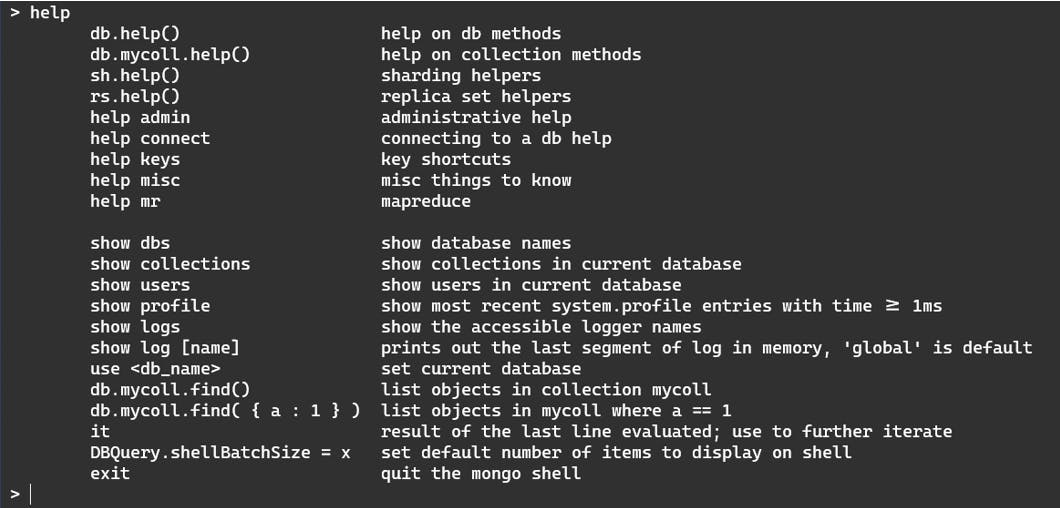
3. Some operations in Shell
a. Use : To create a new database, run command use <name of database>
This will create a new database, but this database won’t be visible, when you run command show dbs, as there is no data in it.
b. show dbs : This command will show all the available databases.
c. insertOne : To insert the data, use command, db.user.insertOne
for eg. db.user.insertOne({firstName: "Virat", lastName: "Kohli", age: "45"})
The above command will create a collection named user, if not already existing, and insert one document in the collection.
The insert operation will return an object as shown below. This object usually have the id of the inserted document and acknowledgement as true, if operation is success.
d. find : To view the data in the collection, run command db.user.find()

If you liked this article, please ❤️ it.
